Most of our body is comprised of water – the bones-22%, the blood-92%, the muscles-75%, the brain -75%, and more. There are countless benefits of water. However, when you are out in the wild, it is not safe to drink water straight from a river or stream. It may look fresh and clear, but it does not mean it is. When you are out in the wilderness, nothing is more important than water so you need to have a DIY water purification kit to help ensure that you have safe drinking water wherever you are.
Here are two fantastic DIY water filters that you can use every time you are out in the wild.
Water Filtration Kit 1
For the first kit, you will need:
- Juice bottle
- Charcoal
- Rocks
- Sand
- Grass
Step 1 – Make holes in the cap of your juice bottle. This will give your filter air space.
Step 2 – The next step is to put a large rock in your juice bottle. This is to help with the filtration process.
Step 3 – Put medium-sized rocks in. Limestone rocks are great as they help the DIY water filter absorb bacteria and dirt, making your water clean and sanitary.
Step 4 – Next, put small rocks or stones in. These small stones help in blocking dirty particles from passing through.
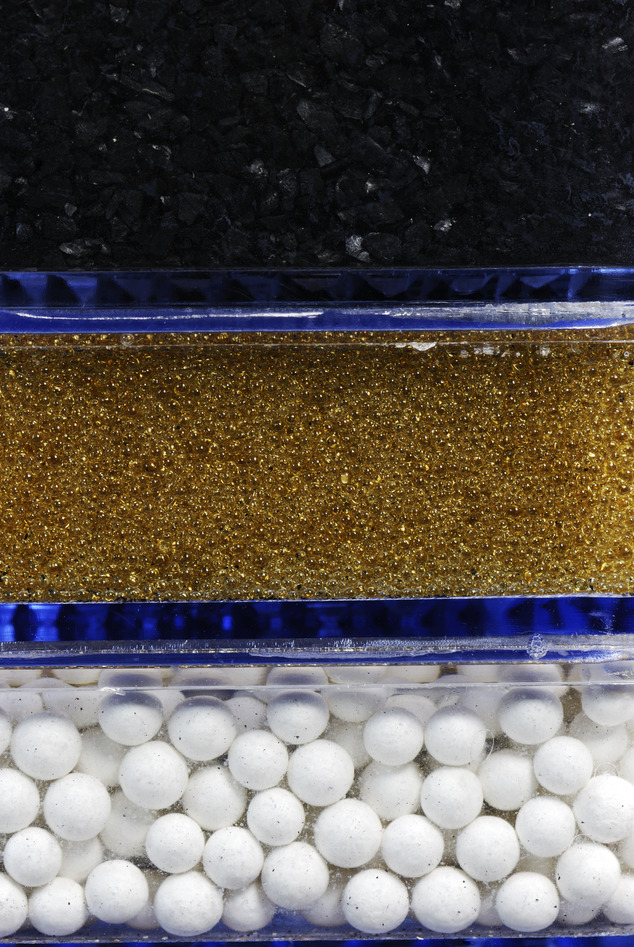
Step 5 – Now you can put sand into your water filter. This is the finer filter for your DIY water filtration system.
Step 6 – The next step is to take charcoal made from hardwood and put it into your filter system. Then add another layer of sand. This will make the filtration process even more effective.
Step 7 – The last layer is fresh grass which is a great alternative to cloth.
Your DIY water filter kit is now ready. Remember that it is still important to boil your water before you put it through your filter kit.
DIY Carbon Filter
To make this water filter kit, all you need is a few simple, easy-to-get materials. You can use scrap wood to make the carbon and an old plastic bottle to make an effective water filter.
To produce carbon:
- Pack a container with dry wood.
- Put the lid on (the lid should have holes) and place it on a fire to burn. As the wood burns, smoke and then flames will vent out of the holes.
- Once the flames stop, remove the container from the fire and block the air holes.
- Leave it cool and lastly, take out the carbon and crush them into finer particles.
To make the filter:
- The first thing you need to do is take your plastic bottle, and make sure that it is thoroughly cleaned.
- Make air holes in the bottle cap.
- Cut the bottom part of the bottle to pour water.
- Fill the bottle halfway with the carbon you produced.
- Now all you have to do is fill the bottle with water and allow the carbon to do its job of filtering the water.
This is an incredibly simple yet effective way to filter water when you are out in the wild. You can produce the carbon in about one hour and can be used to make multiple filters. This is a fabulous DIY water filter kit to have when you do not have access to clean drinking water. You can make the water safe to drink no matter where you are.
In most DIY water purification kits, all you need is a plastic bottle with cap, gravel, sand, charcoal, and another container to catch the water. With these basic materials, you can build your own water filter anywhere. The first layer you put in should be the activated charcoal. Next comes sand and then lastly, gravel. You can use two types of gravel – fine-grained and chunky. This will make you filter even more effective. You can make safe drinking water without having to lug large supplies.
When you are in the wilderness, access to safe drinking water is one of the challenges you face. You need to make sure that you are prepared at all times. With a simple DIY water filter kit, you can produce clean water to drink from rivers, streams, and ponds.